|
This Tutorial Borrowed with Permission:
Quote:
"Lollirot">> Hair Tips Tutorial Ok
a tipping hair tutorial as requested. Generally a simple task. Most people have a way they like to do it, that often will
not match the way someone else would do it. Which makes it a great way to make your hair more you before you submit it. My
way is quick and easy and as you have seen - good results come from it.
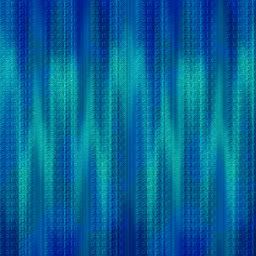
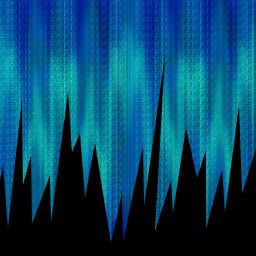
Ok so first lets make a Hair Texture. I thru
something random together very fast. [Sample Marked to avoid theft of this piece of junk.]
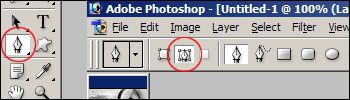
Ok now. Once we have this all ready we will move on to my favorite tool it seems. The Pen Tool! So, Click the Pen
Tool button. Remember to set it to Paths.
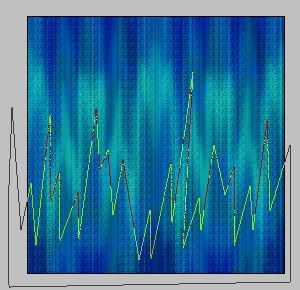
The next part is very much a custom look thing. No one will do it exactly the same so don't worry when yours turns
out different then mine does. Click outside your Canvas to start...and begin up and down spike like patterns. Different heights
and widths! When you have gone across the Canvas, be sure you keep going so you are out on the gray. Then, click straight
down, straight back across, and straight up to the original start point.
Right click and select: Fill Path. You can fill in Black, White, any color. That does not matter. Just, fill it with
a solid color. Then click CTRL + H to unselect the Path.
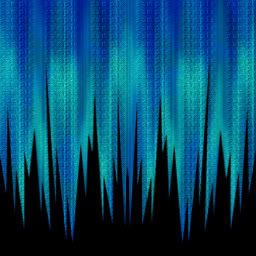
Now this part is additional that I do but, you do not have to do it too. I just think the thinner/smaller things
are made - the less fake and/or chunky it appears. With the layer you did the Paths on select, go to: Edit > Transform
> Scale. Down the width 50%. Then drag it to one side.

Duplicate the layer. Then do: Edit > Transform > Flip Horizontal. Drag it to the other side. Then hit CTRL
+ E to merge the layer down as one. [Sometimes you will have to Edit > Transform > Scale and pull one end over a bit
to fill the whole Canvas length. That's fine.]
You're done. Just paste another Hair Texture on top of that layer, and hold ALT while clicking your mouse between
the Hair Layer and the Tips layer.
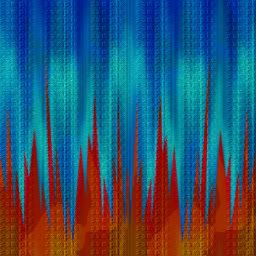
You are le done!!
|