{Tutorial}Making an opacity map (borrowed from gimp group)
This Tutorial uses G.I.M.P.
For
this tutorial Kittenkat's Any Lenght Boots are used. You can find the link [
www.imvu.com]
Then scroll down the page and hit and hit Derive from product.
Then go to gimp and make sure you have an
extra bar with layers to do this go to
file>dialogs>layers. Then open up the template that you saved on the
product page
First you need to save the map I assume you've already done that.
Take it to GIMP. Make a
new layer and paint the whole layer white.
Name it Layer0.
Make another new layer paint the whole thing with black.
Name it Layer1. Now you should have 3 layers Background (the map), Layer0, and Layer1.
Right click on "Background"
and click add alpha channel. Move your layers in this order: Layer0, Background, Layer1. Now click the white layer and make
the opacity of it around 50. Heres and example:
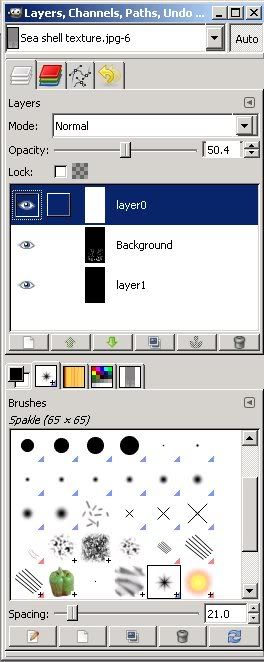
Sorry if its a bit fuzzy. You should the opacity button there...I hope.
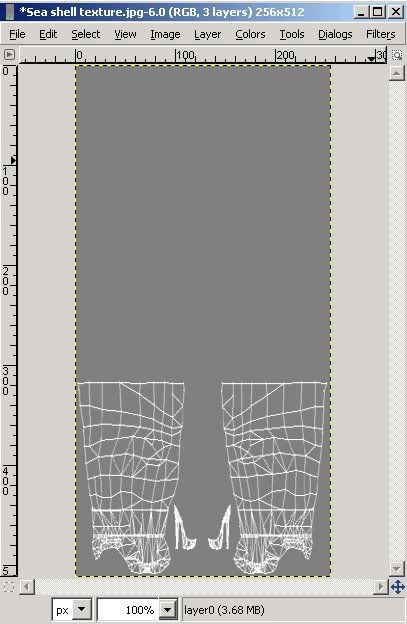
What you should see in the image
is something similar to this:
Now this part is kind of up to you in what you want to show when people look at your product.
Its a bit of a
sticky process.
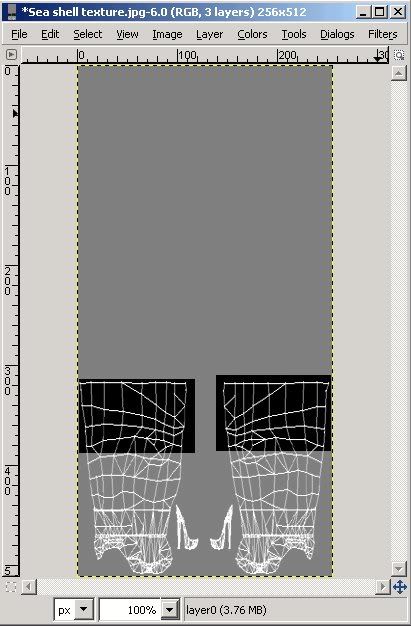
Go to the layers area and click the White layer.
Take your selection tool and highlight what you Do
Not want to show in the product.
Hit Delete on your key board.
You should still see the opacity map only black
will be around the area that you selected. Should look similar to this:
Go to the layers area of your GIMP.
Go on the White layer and bring the opacity back up to 100.
Then go to
layer Background and click the eye next to it.
Go to File and save.
In the end it should look like this:

Yay! Your finished! Good luck!!!!


