{Tutorial} Creating Your First Product Part 3 Texturing your product.
OK so now you are ready to derive your first product.
I have chosen a simple table with a table cloth to use as my tut.
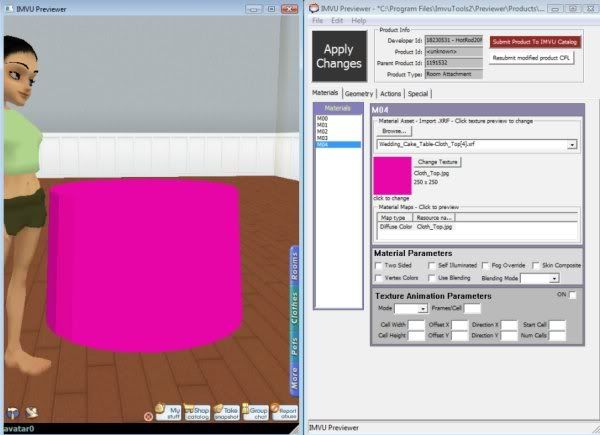
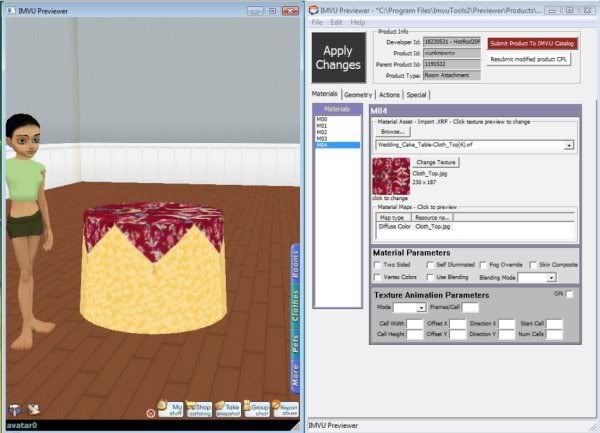
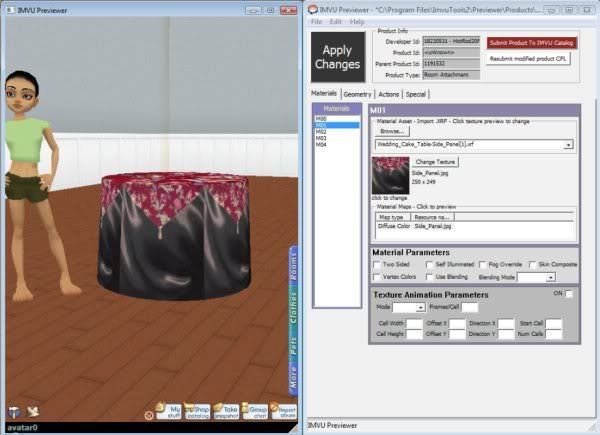
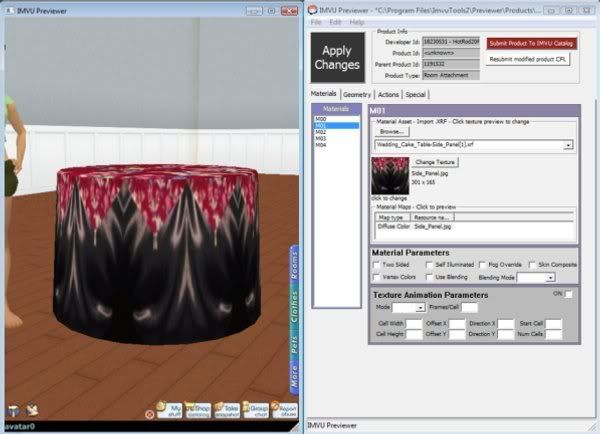
Once the previewer has opened you will see the table as it appears in the catalog.

Here I will show you the importance of texturing.
I am starting with just a color added to it from my GIMP Program.

And here is the texture added to the table.
To do this you will see a list on numbers on the in the left column. Each of the these represent a texture.
Next you will select the change texture tab.
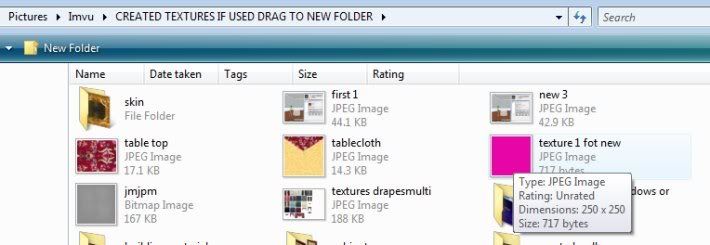
Apply your textures to the table. select each file that pertains to the table cloth,
Then click the apply changes black/gray large square. Apply Changes.
And this is why you need to take your time and really work with each Item.
Getting a perfect texture makes all the difference in your product.
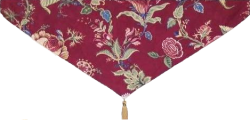
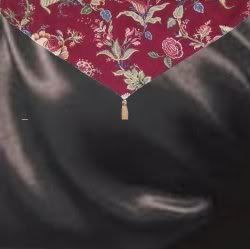
Here is a sample of a passable texture and it looks nice but it could be better.
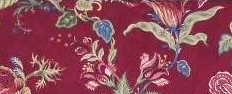
start with an image, like this and work it til you like the pattern
now I have this/ I will use this on my tables top
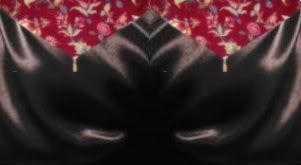
Next I create a new texture for the sides I will use this as a layer over some colors I have created with gimp.
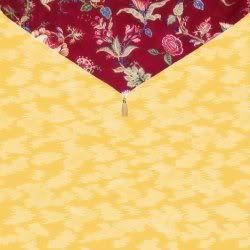
As you can see there a big difference for the first texture and this is passable But I still do not like how it is turning
out so, I will change the textures again.
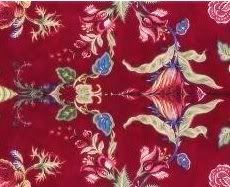
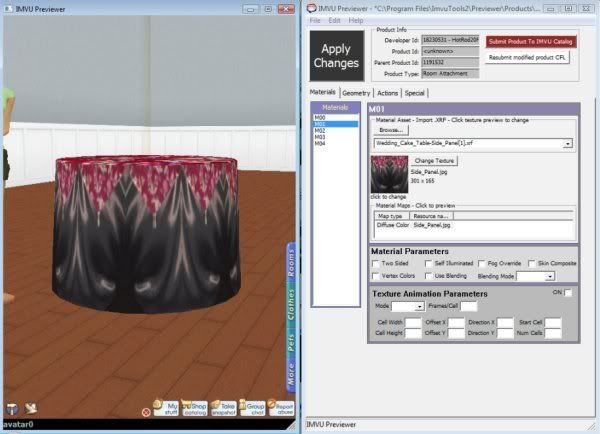
I am trying a new combination because I want the tablecloth to look like it has more movement.
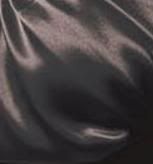
Notice the difference in the what the pattern looks more lifelike although it still looks boxie because the color pattern
does not match. This is because the texture is not seamless. You can see right where the texture starts and stops.
Now I am going to add another edited texture and see what I get.
I am going to use the same textures as above I am just going to make them seamless.
CREATING A SEAMLESS TEXTURE (GIMP)
~{TUTORIAL} CREATING A SEAMLESS TEXTURE
Wow I really like the pattern now but it looks a little dull so I will do this to help bring it some depth.
ADDING DEPTH TO A TEXTURE (GIMP)
~{TUTORIAL}~ ADDING A SOFT SKIN GLOW / ADDING DEPTH TO A TEXTURE
Another huge difference and I am finally happy with the results.
I am now ready to submit my product to IMVU.